Next Level Playability
Play your virtual instruments as an ensemble
and experience the full force of realtime orchestration.

Play your virtual instruments as an ensemble
and experience the full force of realtime orchestration.
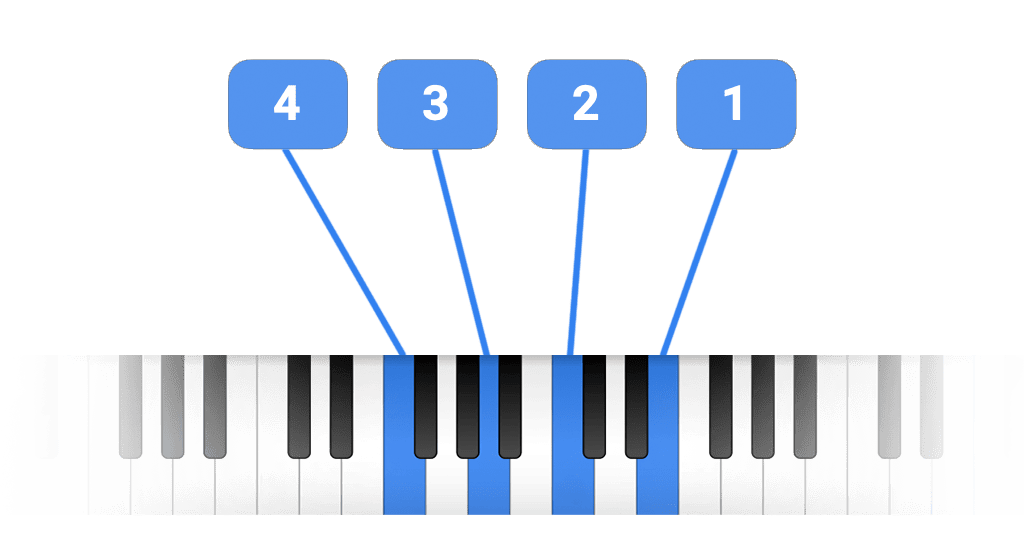
Our innovative algorithm splits up the notes you play into individual musical voices. Each voice can then be processed, manipulated and routed to different virtual instruments.
Skip the tedious work of playing each instrument separately and focus on the joy creating music.
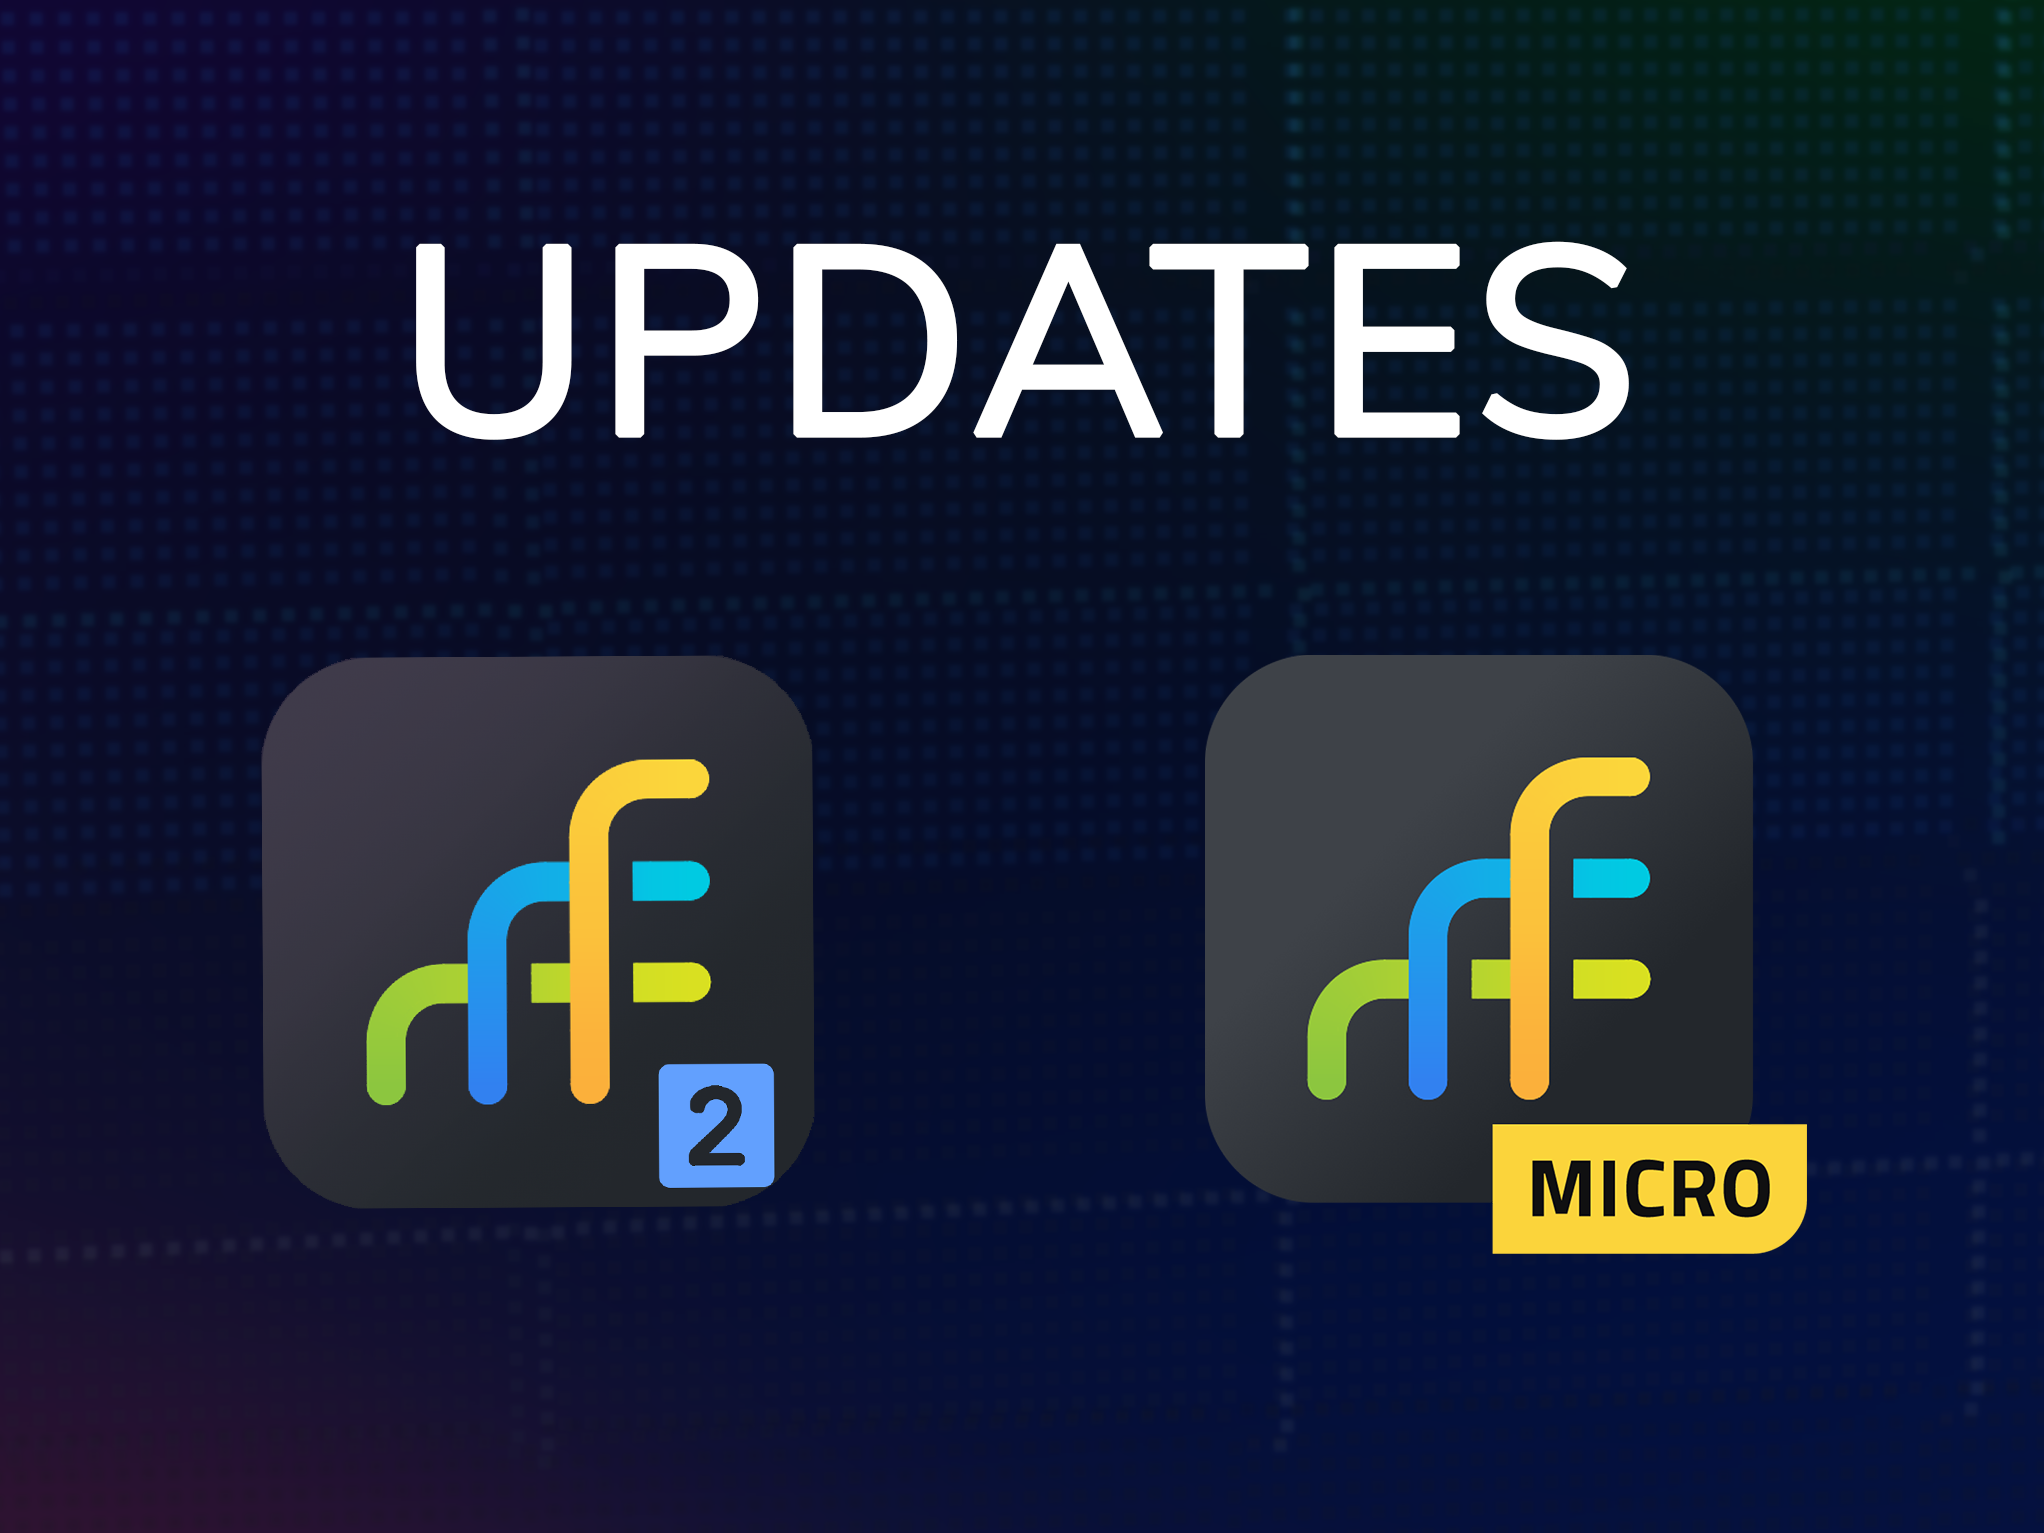
Learn MoreBuild complete playable orchestrations with your virtual instruments with Divisimate 2. Spread your performance across 32 multitimbral ports in your DAW in real-time. Build intricate textures, design automatic voicings and switch between orchestrations seamlessly to unlock endless creative possibilities.

Divisimate Micro brings the core features of our flagship product into a streamlined, efficient plugin. Split your chords into up to four musical voices, and spread them across different instruments in your DAW.
Compare Products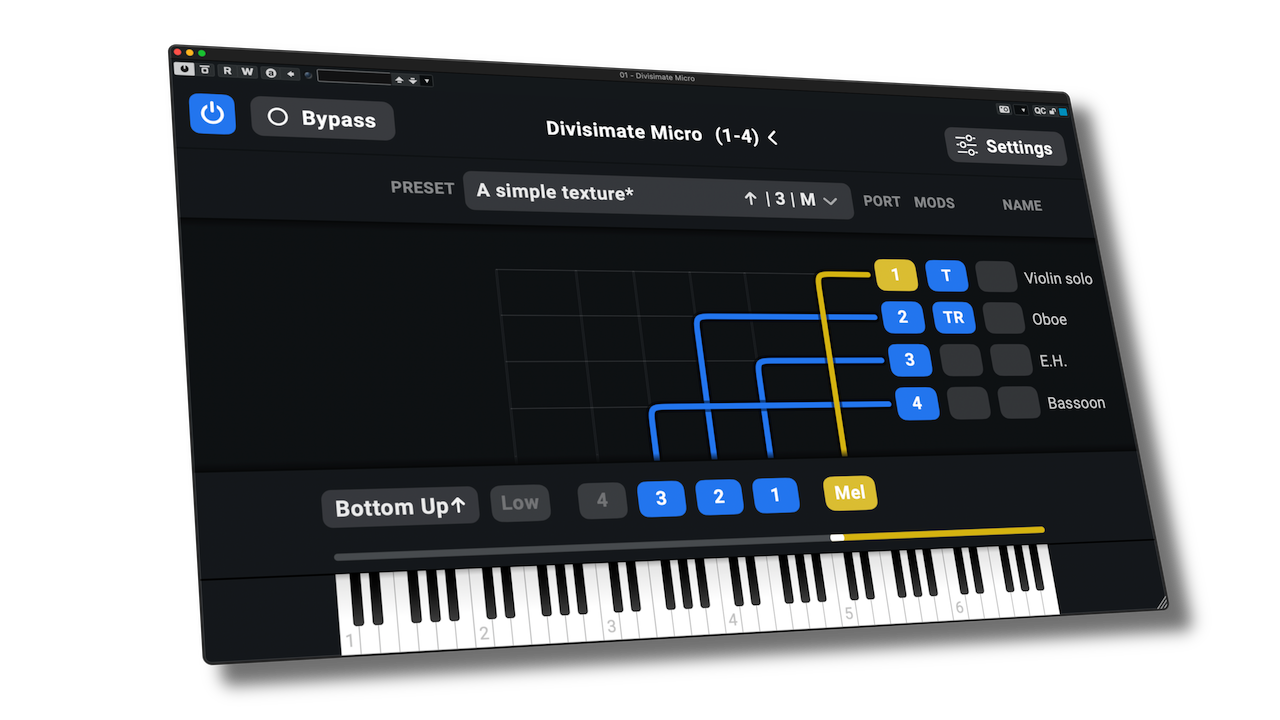
2025-06-12
Explore our new free template for Divisimate 2 and the Berlin Orchestra by Orchestral Tools
2025-03-14
Perform big band in the right hand and bass in the left hand - Free Preset Download
2025-03-04
SWAM Big Band and SWAM Orchestra templates just got a major overhaul
2024-12-03
Explore 300 ready-made orchestrations with this free universal template!
2024-11-28
Fixes and improvements to our software are here now.
2024-11-27
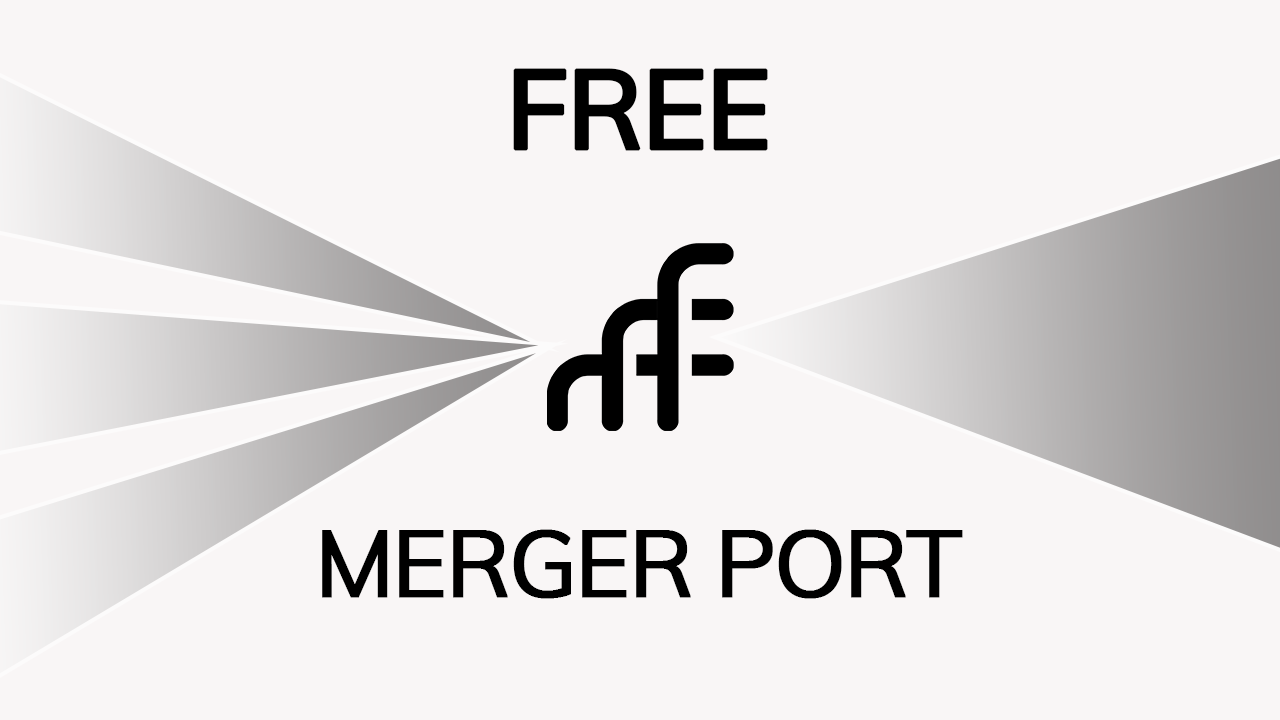
Combine your controllers into a single port with our free utility!
Compose.
Orchestrate.
Perform.


Copyright 2025 Nextmidi GmbH & Co. KG. All rights reserved.